Performing a regular leak test on a veterinary anesthesia machine is not just a matter of best practice; it is a critical safety procedure for both patients and veterinary staff. Anesthetic machines are complex systems of hoses, valves, and canisters, and even a small leak can lead to significant problems, including patient awareness during surgery, inaccurate anesthetic delivery, and chronic exposure of clinic staff to waste anesthetic gas (WAG). This comprehensive guide will walk you through the proper low- and high-pressure leak test procedures, explain their frequency, detail pass/fail criteria, and help you identify common leak points. Understanding this process is fundamental for maintaining a safe, compliant, and efficient veterinary practice.
Veterinary Anesthesia Machine Leak Test Procedure: A Step-by-Step Guide
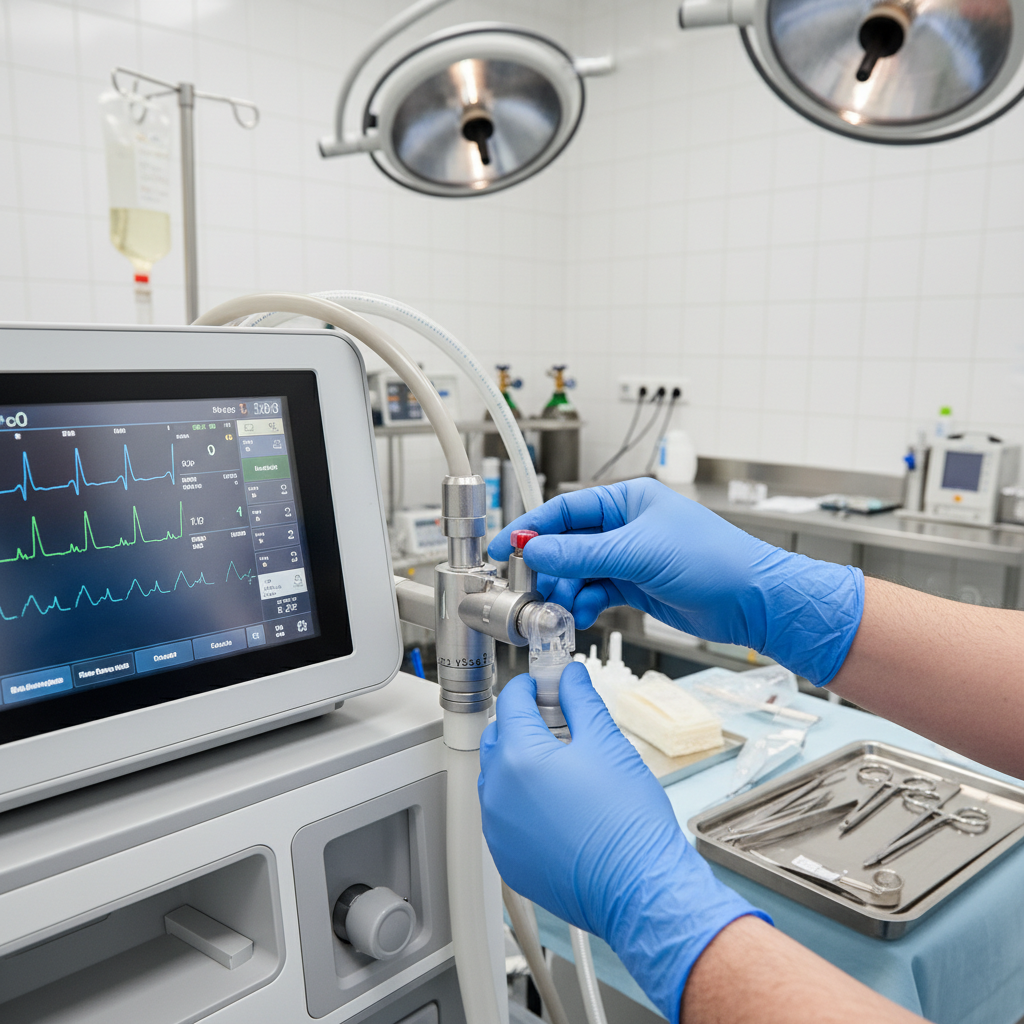
Why Anesthesia Machine Leak Testing is Non-Negotiable
Leaks in the anesthetic circuit compromise safety on multiple fronts. For the patient, a significant leak can dilute the concentration of inhaled anesthetic, potentially leading to inadequate anesthesia depth. More insidiously, leaks release waste anesthetic gas into the ambient air of the surgical suite. Chronic, low-level exposure to agents like isoflurane and sevoflurane has been linked to potential health effects, making WAG management a primary safety concern. Regular leak testing is the first line of defense in a comprehensive waste anesthetic gas monitoring program.
Why This Matters for Compliance
While OSHA does not have a specific permissible exposure limit (PEL) for halogenated anesthetics, the National Institute for Occupational Safety and Health (NIOSH) recommends that concentrations be kept below 2 parts per million (ppm). Furthermore, standards from the American Society of Safety Engineers, specifically the ASSE 6000 series, emphasize the importance of maintaining medical gas systems to ensure their integrity and safety. Proper equipment maintenance, including daily leak checks, is a key component of demonstrating due diligence in protecting your staff.
Low-Pressure vs. High-Pressure Systems: Knowing the Difference
The anesthesia machine can be divided into two main sections: the high-pressure system and the low-pressure system. Each requires a different testing approach.
- High-Pressure System: This includes the gas cylinders (e.g., E-tanks), their yokes, and the pressure regulators, up to the flowmeters. A leak here means gas escapes before it even enters the machine's main circuit.
- Low-Pressure System: This includes everything from the flowmeters to the patient: the vaporizers, the common gas outlet, the breathing circuit itself (hoses, Y-piece, reservoir bag), the CO2 absorber canister, and the pop-off valve.
Most leaks (over 90%) occur in the low-pressure system, which is why the low-pressure test is performed more frequently.
How to Perform a Low-Pressure Leak Test (Before Every Procedure)
This test should be performed at the start of every day and before each individual procedure. It checks the integrity of the components most often handled and subject to wear and tear.
Step-by-Step Low-Pressure Test
- Attach Circuit: Ensure the breathing circuit (hoses, reservoir bag, Y-piece) is properly attached to the machine.
- Check Vaporizer: Verify the vaporizer is filled with the correct agent and the fill cap is tightly sealed.
- Close Pop-Off Valve: Completely close the adjustable pressure limiting (APL) or "pop-off" valve. Do not overtighten it.
- Occlude the Patient End: Use your thumb or the palm of your hand to create a perfect seal over the end of the Y-piece that would normally connect to the patient's endotracheal tube.
- Pressurize the System: With the patient end sealed, use the oxygen flush valve to fill the system until the pressure manometer (pressure gauge) reads 30 cm H2O. Inflate the reservoir bag until it is taut but not over-distended.
- Observe for Pressure Drop: Watch the manometer needle. In a leak-free system, the pressure should remain stable at 30 cm H2O. A slow drop is acceptable, but it must meet a specific threshold.
Pass/Fail Criteria: A common standard is that the pressure should not fall below 25 cm H2O within 30 seconds. Some sources may say the system should not lose more than 5 cm H2O over 20-30 seconds. If the pressure drops rapidly, you have a significant leak that must be found and corrected before the machine can be used.
How to Perform a High-Pressure Leak Test
This test is typically performed whenever a new gas cylinder is attached to the machine. It verifies the integrity of the connection between the cylinder and the machine.
Step-by-Step High-Pressure Test
- Ensure Machine is Off: Verify that the flowmeters are all turned off.
- Attach Cylinder: Securely attach the E-tank to the hanger yoke. Ensure the Bodok seal (washer) is in place and in good condition.
- Open the Cylinder: Using the cylinder wrench, slowly open the cylinder valve fully, then turn it back a quarter-turn. The pressure gauge for the cylinder will show the tank's current pressure (e.g., 2200 psi for a full oxygen tank).
- Note the Pressure: Make a mental or physical note of the exact pressure on the gauge.
- Close the Cylinder: Fully close the cylinder valve. The pressure reading on the gauge should remain static.
- Wait and Observe: Wait for at least one minute (longer is better). If there is no leak, the pressure reading on the gauge will not drop. If the pressure drops, there is a leak in the yoke, the regulator, or the connection to the machine.
Common Leak Points and How to Fix Them
If you detect a leak, work methodically from one component to another to isolate the source. The "soapy water" or "Snoop" spray method is effective. Apply a small amount of leak detection solution to a suspected area and watch for bubbles to form.
| Common Leak Point | How to Check & Fix |
|---|---|
| CO2 Absorber Canister | Canisters are not screwed on tightly or seals are cracked/dry. Reseat the canister and check gaskets. |
| Reservoir (Breathing) Bag | Holes or tears, or a poor connection to the bag port. Remove and visually inspect. Replace if damaged. |
| Breathing Circuit Hoses | Cracks in the corrugated tubing or poor connections at the machine. Submerge in water to find tiny holes. |
| Y-Piece | Cracks, especially after being dropped. Visually inspect and replace if necessary. |
| Pop-Off (APL) Valve | Internal seals may be worn, or the valve may not be fully closing. Sometimes requires professional service. |
| Vaporizer Inlet/Outlet | Loose connections where the vaporizer mounts to the manifold. Ensure it is locked down correctly. |
| Hanger Yoke (High-Pressure) | The Bodok seal/washer is missing, damaged, or old. Always use a new washer with a new tank. |
Documentation and Maintenance
Keeping a log of daily leak tests is essential for compliance and equipment management. Your log should include the date, the machine identifier, the results of the test (Pass/Fail), and the initials of the technician who performed it. This log is crucial during any safety audit or inspection.
While vet techs can perform these daily checks, remember that anesthesia machines are life-support devices. They require professional service and calibration on a regular basis. Companies like Medical Testing Solutions provide comprehensive annual medical gas inspections and maintenance services to ensure your equipment is always functioning correctly and within manufacturer specifications. A robust preventative maintenance plan is a pillar of a safe veterinary medical gas environment.
Ultimately, the goal is to create a "bubble-tight" system. Following this veterinary anesthesia machine leak test procedure is a foundational skill for ensuring every anesthetic event is safe for the patient and the dedicated team providing care. For comprehensive support, from equipment sales to ASSE-certified testing, Medical Testing Solutions is your trusted partner.
As this procedure is a key part of a larger safety strategy, we highly recommend reading our pillar guide on Waste Anesthetic Gas Scavenging for Veterinary Practices to understand the complete picture of WAG management.
Ready to ensure your facility is 100% compliant and safe?
Contact the experts at Medical Testing Solutions today for a comprehensive equipment inspection. Call us at +1 (754) 315-1078 or request a quote online to get started.
Frequently Asked Questions
Request a quote for your facility
Talk with Medical Testing Solutions about your next inspection, repair or equipment request.