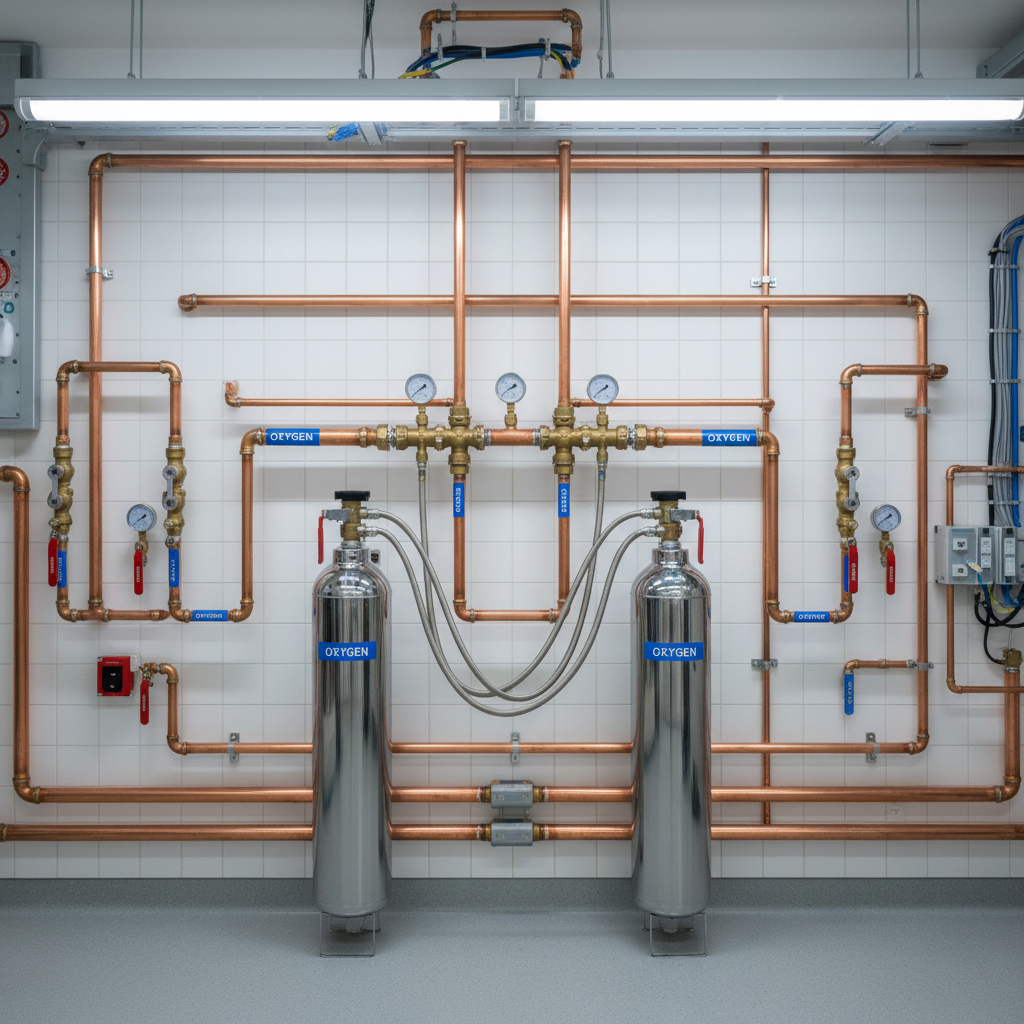
Hospital Oxygen System Installation in Owensboro, KY: A Guide
Installing or upgrading a hospital oxygen system is one of the most critical infrastructure projects a healthcare facility can undertake. Patient lives depend on a continuous, reliable supply of medical-grade oxygen delivered at precise pressures. For facilities in Owensboro, Kentucky, a compliant installation is not just a best practice, it's a complex process governed by strict national and local codes. This guide will walk you through the essential components, personnel qualifications, and regulatory standards, including NFPA 99 and the ASSE 6000 series, ensuring your project meets the highest levels of safety and compliance.
Understanding the Core Components of a Hospital Oxygen System
A hospital's medical oxygen system is more than just pipes in a wall. It is a sophisticated, life-sustaining network comprising three main parts: the source, the distribution network, and the patient-use stations. Each must be designed and installed with meticulous attention to detail.
1. The Source: Bulk Oxygen and Manifolds
The primary oxygen source for most hospitals is a cryogenic bulk oxygen tank, typically located outdoors. This vessel stores liquid oxygen (LOX) at extremely low temperatures (around -297°F or -183°C).
- Bulk Tank: Sizing is critical and depends on the hospital's bed count, specialty services (e.g., respiratory care, surgery), and average daily patient census. An undersized tank risks runouts, while an oversized one can lead to unnecessary resource waste.
- Vaporizers: These units convert the liquid oxygen back into a gaseous state for delivery.
- Reserve Manifold: NFPA 99 mandates a secondary reserve supply. This is typically a high-pressure cylinder manifold that automatically activates if the primary bulk tank fails or requires maintenance. This redundancy is a cornerstone of patient safety.
2. The Distribution Network: Piping and Zone Valves
From the source, the gaseous oxygen travels through a network of specially prepared copper piping.
- Piping: All piping used for medical oxygen must be Type K or L copper, cleaned for oxygen service, and clearly labeled. The installation process itself is highly specialized, requiring expert brazing techniques by an ASSE 6010 certified technician.
- Zone Valves: The piping system is segmented into zones, each controlled by a zone valve box. This allows maintenance or emergency shutdowns in one area of the hospital (like an operating room or a patient wing) without disrupting oxygen flow to the entire facility. These are critical control points in your gas infrastructure.
3. Patient-Use Stations: Outlets and Alarms
Finally, the oxygen reaches the patient at the wall outlet.
- Outlets: These are gas-specific, meaning an oxygen flowmeter cannot be accidentally plugged into a medical air or vacuum outlet, thanks to a pin-indexed safety system (DISS).
- Alarms: Local and master alarm panels are required by NFPA 99 to provide audible and visual warnings of pressure drops or other system failures. These alarms are the nervous system of your medical gas infrastructure, providing early warnings before a problem becomes a crisis.
Why this matters for compliance: NFPA 99 (Health Care Facilities Code) is not a suggestion; it is the law in most jurisdictions, including Kentucky. A non-compliant installation can result in project delays, costly rework, failed inspections, and, most importantly, unacceptable risks to patient safety.
The Installation Process: From Blueprint to Breath
A successful hospital oxygen system installation is a phased process requiring certified expertise at every step. At Medical Testing Solutions, we follow a rigorous, code-compliant procedure to ensure system integrity.
Step 1: Design and Planning
Before any pipes are laid, a thorough design phase is essential. This involves:
- Calculating projected oxygen demand.
- Sizing the bulk tank, reserve manifold, and main supply lines.
- Mapping the piping runs and locating zone valve boxes and alarm panels.
- Ensuring the design conforms to NFPA 99 and other relevant standards.
Step 2: ASSE 6010 Certified Installation & Brazing
This is where the physical work begins. All personnel installing the medical gas piping must be certified to the ASSE 6010 standard for Medical Gas Systems Installers. This is non-negotiable.
- Brazing: The process of joining copper pipes must be done using a specific technique involving brazing with a continuous nitrogen purge. This purge prevents the interior of the pipe from oxidizing during heating. The resulting carbon residue can be toxic if inhaled by a patient and can damage sensitive medical equipment.
- Labeling: All pipes must be properly labeled with the gas name and direction of flow.
Step 3: Initial Verification by the Installer
Once the installation is complete, the installing team performs an initial pressure test and blowout test to check for leaks and remove any particulate matter left over from the construction process. This is a preliminary check before the final, third-party verification.