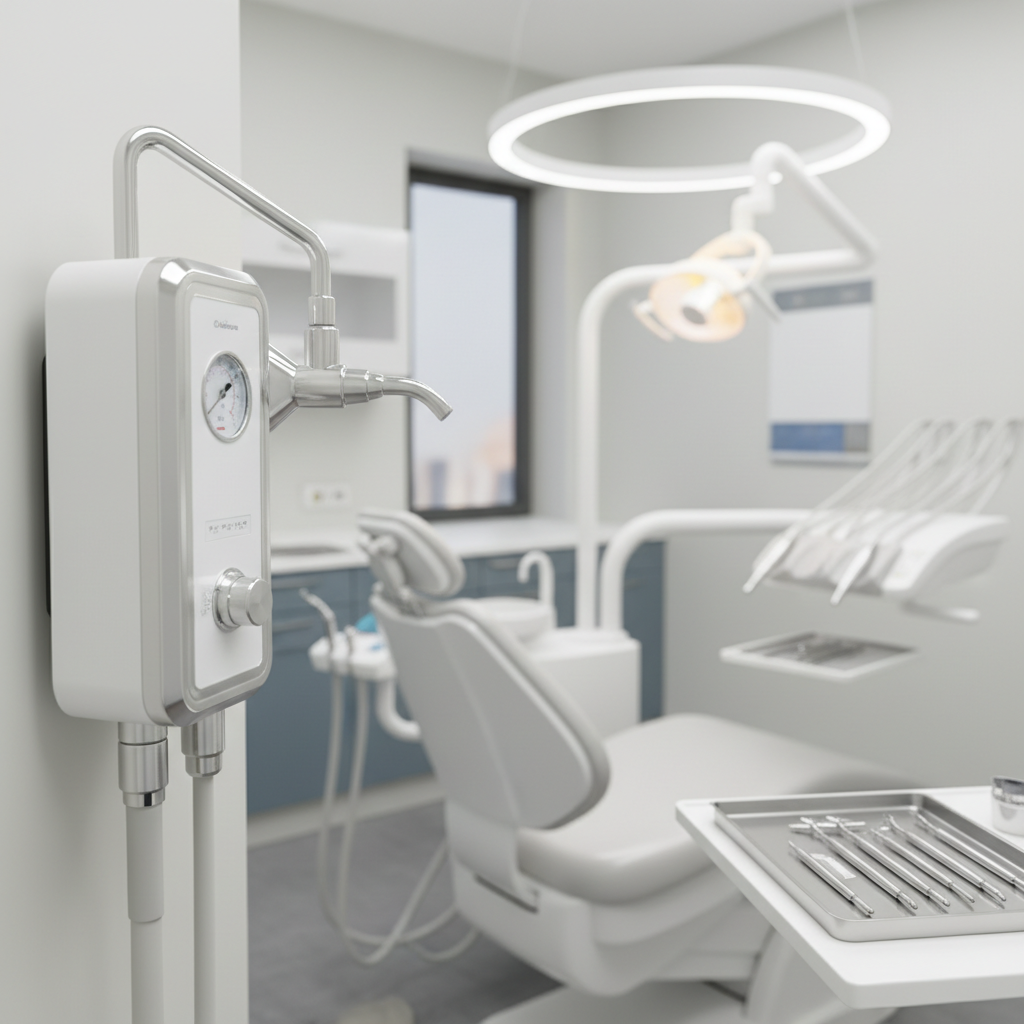
Understanding the Essentials of a Dental Nitrous Oxide System
A properly installed nitrous oxide-oxygen (N2O/O2) sedation system is a cornerstone of modern patient comfort and anxiety management in dental practices. But it's far more than just the flowmeter on the wall. A compliant and safe installation is a complex network of pipes, manifolds, alarms, and scavenging systems, all governed by strict national and local codes. For a dental office in Winston-Salem, North Carolina, this means adhering to the National Fire Protection Association (NFPA) 99 Health Care Facilities Code, the Compressed Gas Association (CGA) standards, and the American Society of Sanitary Engineering (ASSE) 6000 series standards.
This guide will walk you through the entire turnkey process for a dental office nitrous oxide installation, ensuring your system is safe, efficient, and fully compliant from day one. We will cover system design, component selection, the installation process, and the critical final verification that ensures patient and staff safety.
Step 1: System Design and Planning
Before a single pipe is run, a comprehensive design is paramount. A turnkey installation partner like Medical Testing Solutions works with you, your architect, and your builder to design a system tailored to your specific floor plan and clinical needs. This phase involves several key decisions:
- Source Equipment Location: The "head-end" equipment, including the high-pressure cylinders and the manifold, must be located in a secure, well-ventilated room that meets specific NFPA 99 requirements. This room cannot be used for general storage and must have an appropriate exhaust system.
- Number and Location of Terminals: Determine how many operatories will be equipped with N2O/O2. We will plan the piping route from the source equipment to each dental treatment room, ensuring the most efficient and safe path.
- Scavenging System Design: An active scavenging system is not optional; it's a critical safety component for removing exhaled nitrous oxide from the operatory, protecting your staff from chronic exposure. The design must incorporate a dedicated vacuum source and route scavenger lines from each operatory.
- Alarm System Integration: NFPA 99 mandates both master and area alarm panels to monitor the status and pressure of the medical gas system. The design phase maps out the location of these alarms to ensure they are visible and audible to staff.
Why this matters for compliance: Proper planning prevents costly rework. NFPA 99 (Chapter 5) outlines detailed requirements for the location and construction of medical gas source equipment rooms. Getting this wrong can halt a project and lead to significant budget overruns.
Step 2: Selecting the Right Equipment
Choosing high-quality, compliant equipment is essential for the longevity and safety of your system. A turnkey provider sources and supplies all necessary components.
Manifolds and Cylinders
The manifold is the heart of your system. It controls the gas supply, automatically switching from the primary cylinder bank to the secondary bank when pressure drops. For a typical dental office, an automatic changeover manifold is standard.
- Cylinder Sizing: N2O and O2 are supplied in various cylinder sizes (e.g., H, G, K). The appropriate size depends on your anticipated usage. We'll help you calculate your needs to balance supply longevity with space considerations.
Piping and Fittings
NFPA 99 mandates the use of specific materials for medical gas distribution.
- Pipe Material: All N2O/O2 piping must be ASTM B819 seamless copper medical gas tubing, cleaned for oxygen service.
- Brazing: Joints must be brazed using a specific brazing alloy (at least 1,000°F melting point) while a continuous purge of oil-free, dry nitrogen is passed through the pipe. This process, required by ASSE 6010, prevents the formation of toxic oxides inside the piping.
Alarms and Monitoring
Alarms are your system's early warning mechanism.
- Master Alarms: Located in an area of continuous surveillance (e.g., reception), they monitor the source equipment, alerting staff to a changeover or low pressure.
- Area Alarms: Installed in each zone (e.g., the dental operatory wing), they monitor the pressure in that specific piped zone, immediately alerting staff to a problem affecting their work area.
For expert guidance on alarm systems and other components, explore our medical gas equipment catalog.
Step 3: The ASSE 6010 Installation Process
The physical installation of the piping network must be performed by a certified ASSE 6010 installer. This is a non-negotiable requirement for compliance and safety. Medical Testing Solutions ensures all installations are performed by technicians holding this critical credential.
The installation process includes:
- Running the Lines: Certified installers run the copper tubing from the manifold room to each operatory outlet.
- Brazing: All joints are meticulously brazed under a nitrogen purge.
- Installing Outlets and Zone Valves: Terminal outlets (like DISS or quick-connects) are installed in the operatories. Zone valve boxes are placed at the entrance to each zone, allowing individual areas to be shut off for maintenance without disrupting the entire facility.
- Connecting the Source Equipment: The manifold, regulators, and alarms are professionally connected.
This is a highly specialized trade. General plumbers are not qualified or certified to perform this work. Using an uncertified installer will result in a failed verification and a system that cannot be legally used. For more details on this certification, see our page on medical gas installation.